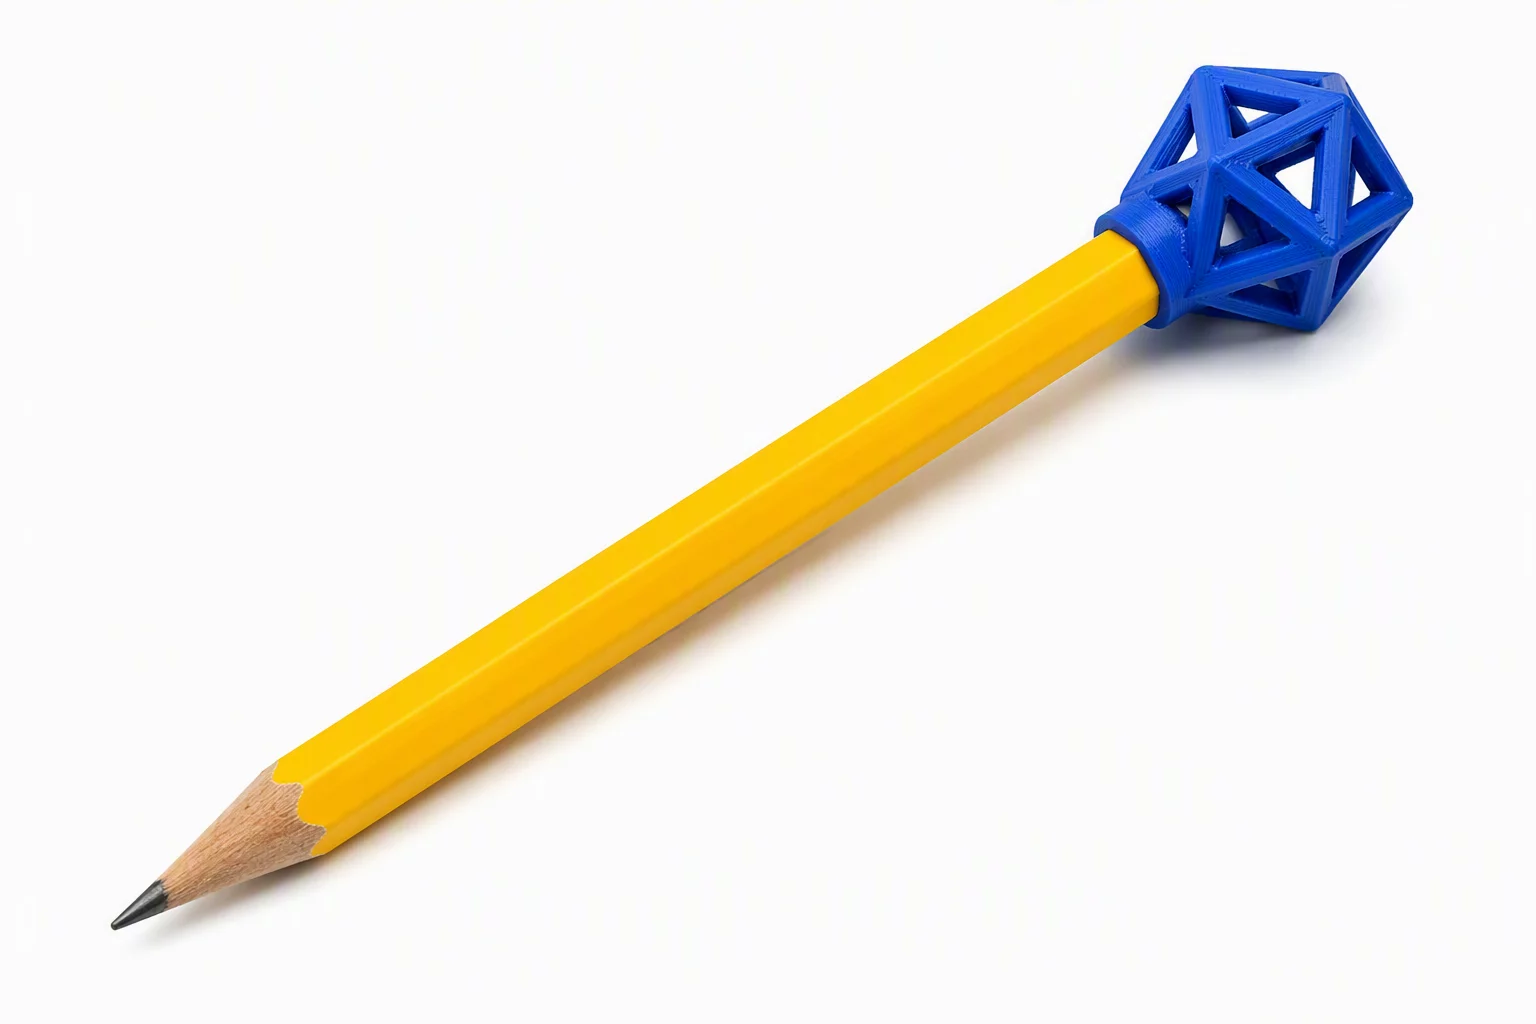
Methodological Overview & Pedagogical Purpose
Beginner CAD students frequently struggle with the disconnect between on-screen digital coordinates and real-world manufactured dimensions. When designing on an infinite digital plane, an opening that matches an object's exact nominal diameter seems logical. In physical fabrication, thermal filament expansion and layer variance will cause that nominal hole to seize tightly or fail completely.
Using a ubiquitous classroom pencil provides learners with an immediately tangible reference point. Hexagonal standard pencils carry distinct flat-to-flat and point-to-point widths, giving students an engaging opportunity to measure geometric anomalies, understand why nominal sizing fails, and implement engineered clearance offsets.
Instructor Core Recommendation
Always instruct students to prototype a short, lightweight fit-ring (5mm height) before creating full decorative toppers or mechanical grips. Testing a minimalist ring saves 90% of classroom 3D print time and gives students rapid tactile feedback on their chosen tolerances.
Dimensional Framework & Step-by-Step Instructions
Students should work in pairs using manual or digital calipers to record baseline data before opening their modeling software. Follow this structured process during the hands-on lab block:
- Record three separate measurements along the pencil shaft to discover cross-sectional variations caused by paint coatings and manufacturing variance.
- Add a targeted radial clearance offset of 0.25mm to 0.40mm to the measured diameter to create a comfortable slide-on friction fit.
- Construct the CAD inner sleeve using a solid cylinder or hexagonal hole shape, ensuring outer wall thickness remains at least 1.6mm for structural toughness.
- Model subtle interior friction ribs or taper the bottom entry chamfer to guide the pencil smoothly into the sleeve without crushing edges.
After completing the internal void, students can add customized functional geometry such as stylus clips, finger rests, eraser shields, or balance weights. The core rule remains consistent: prioritize internal interface geometry before styling external surfaces.
Formative Assessment Rubric & Fit Verification
Evaluation focuses on functional engineering criteria rather than purely decorative aesthetics. Use these measurable checkpoints during the testing phase:
- Dimensional Retention: The 3D printed accessory stays firmly attached when the pencil is inverted and lightly shaken over a desk.
- Material Integrity: The sleeve attaches and detaches five consecutive times without layer separation, cracking, or stripping the pencil finish.
- Print Efficiency: The final exported STL geometry prints cleanly without unneeded internal support structures that block the pencil cavity.
Encourage students to document the delta between their calculated digital offset and the resulting physical fit. This analytical habit establishes genuine spatial reasoning that carries directly into complex multi-part mechanical design.
Rachel Simmons
Middle School STEM LeadAdding a 0.3mm clearance worked like magic on our classroom PLA printers. The students immediately understood why digital dimensions need physical wiggle room!