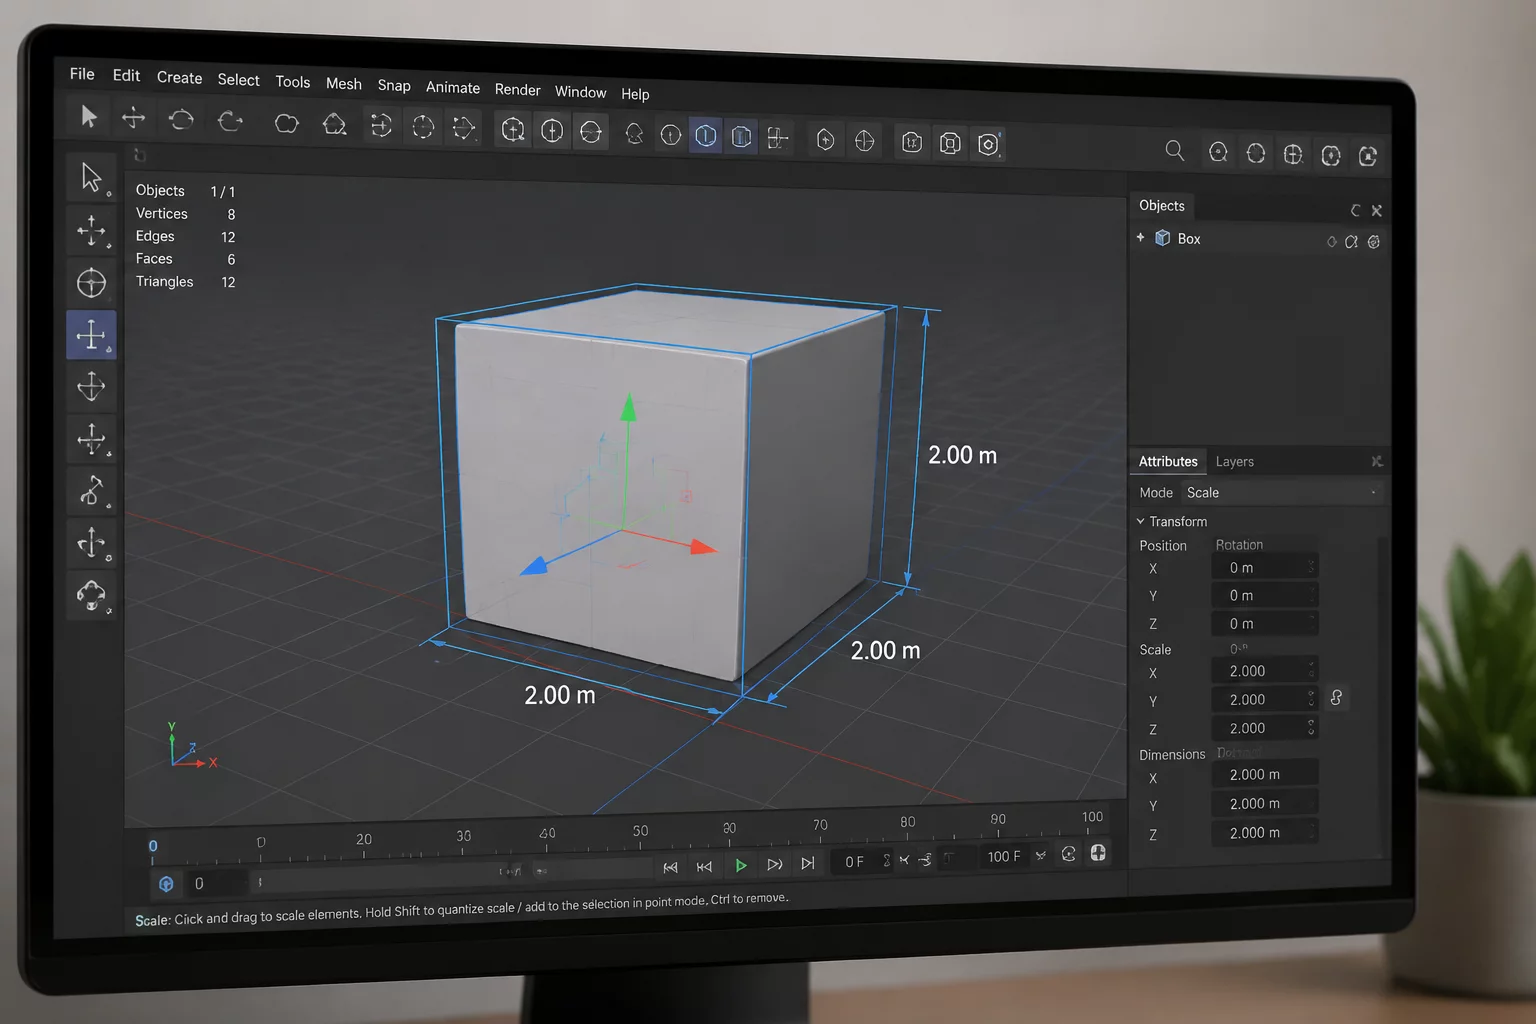
Classroom Scale & Dimension Objectives
In physical engineering and rapid prototyping, scaling a component up or down rarely involves simply changing a single slider in your 3D modeling canvas. In our dedicated 3D design measurement lessons, learners quickly discover that scaling an object uniformly alters surface area by the square of the multiplier and volume by its cube. Understanding this geometric principle prevents catastrophic sizing errors before designs reach the physical 3D print bed.
When students shrink an enclosure or an ornamental figure down to half its original dimensions, every internal peg, screw opening, and wall thickness reduces proportionally. A 2.0 mm wall suddenly shrinks to 1.0 mm, often falling below the minimum structural threshold required for durable plastic extrusion. Practicing direct caliper measurements alongside digital scaling ensures learners build an intuitive grasp of how virtual units translate to real-world mass.
Proportion & Measurement Rule
When you double every linear dimension (2x X, 2x Y, 2x Z), the surface area quadruples (4x) and the total volume expands eightfold (8x). Always evaluate material weight and print duration before scaling up.
Step-by-Step Educational Workflow
To guide students through this spatial concept, instructors can utilize a systematic three-stage workflow that bridges hands-on workshop gauging with cloud-based CAD manipulation.
Stage 1: Physical Reference Measurement
Take a physical reference cube or everyday desk item and record its baseline measurements across X, Y, and Z planes using a digital caliper with millimeter precision.
Stage 2: Translating Values into Tinkercad
Recreate the object inside Tinkercad, lock the aspect ratio using the shift-drag handle to scale by a 2.0x factor, and record how the bounding dimensions and volume change.
Stage 3: Testing Tolerances & Clearances
Assess interlocking interfaces or socket holes to verify whether downscaled clearances still permit clean mechanical assembly without friction jamming.
Formulas and Spatial Checks
Connecting mathematical scale factor formulas to physical prototypes reinforces proportional reasoning and spatial awareness across multiple learning levels.
- Maintain uniform scale locks for aesthetic models while manually adjusting functional mechanical joints.
- Recalculate filament volume and estimated print times whenever increasing scale factors beyond 1.5x.
- Confirm that thin structural features and cantilever pins remain at or above 1.5 mm thickness after scaling down.
By iterating through physical calibration and virtual workplane transformations, students develop robust spatial reasoning that serves as a cornerstone for advanced engineering and manufacturing disciplines.
Marcus Vance
Middle School STEM EducatorOur middle school students experienced an instant breakthrough when comparing sliced print times between a 1x and 2x scaled block. This exercise grounded the cubic scaling rule in physical reality!