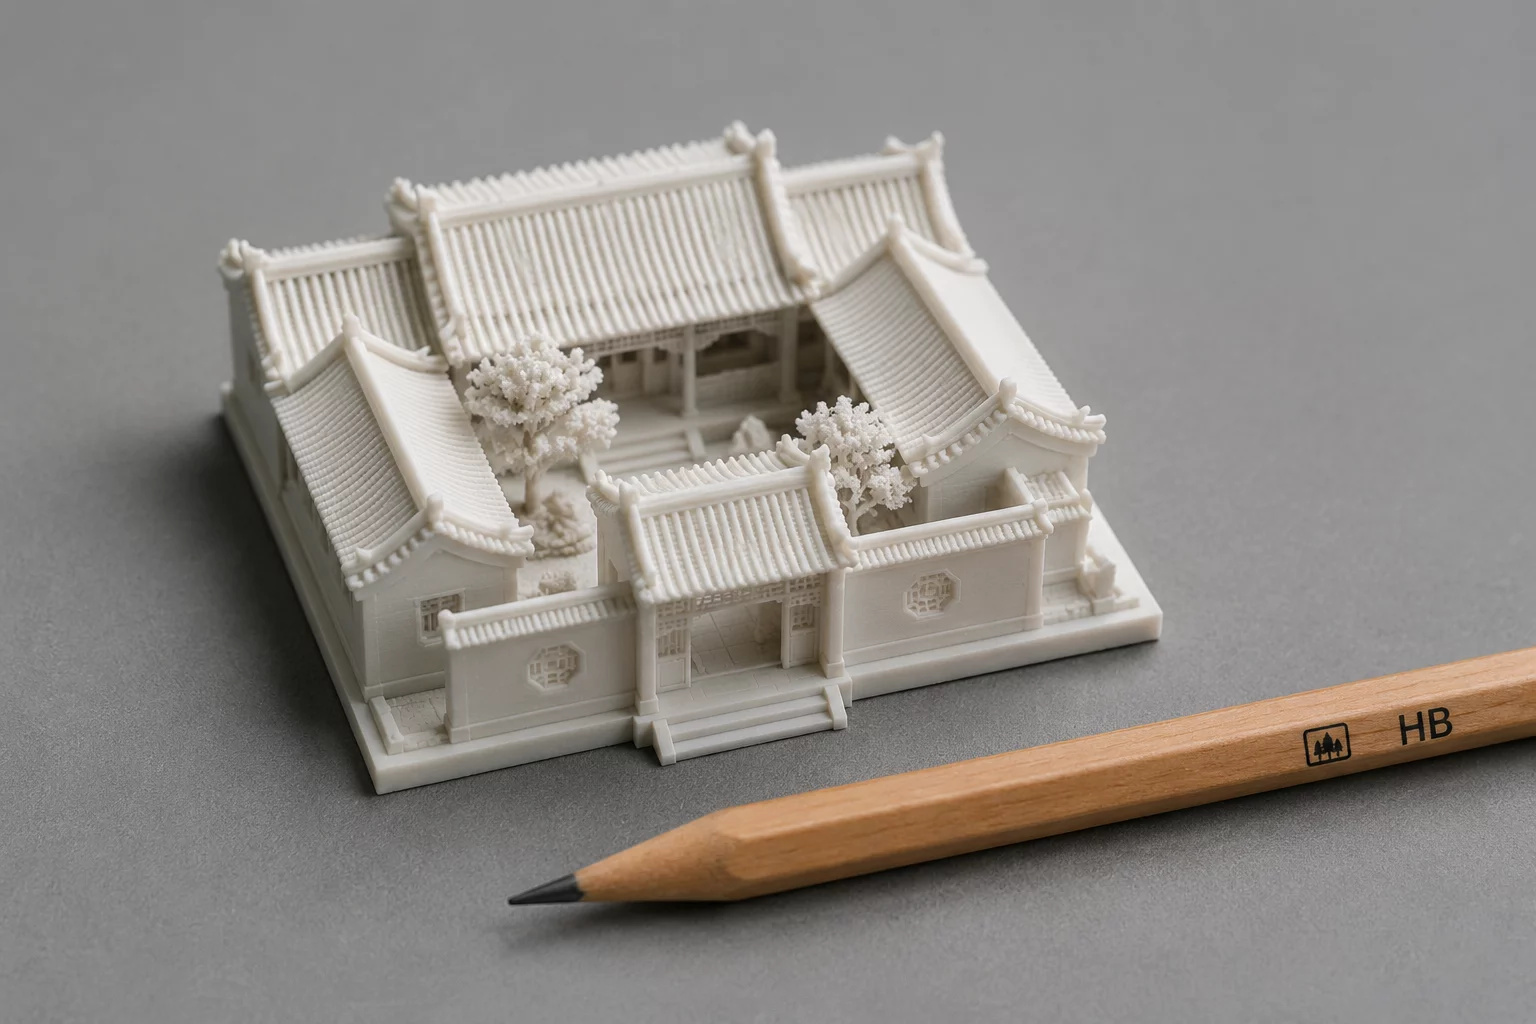
Classroom Scale & Dimension Objectives
Converting a tangible real-world item into a digital model requires a disciplined transition from rough visual impressions to strict metric measurements. In educational 3D design environments, students frequently make the mistake of estimating scale purely by sight. When objects are built without a defined ratio, parts clash, details blur, and final 3D prints fail to capture realistic proportions.
This lesson establishes a systematic workflow for capturing real-world geometry. Learners measure physical objects using vernier or digital calipers, record primary dimensions along standard X, Y, and Z coordinate axes, and apply uniform scale factors before constructing geometry on the digital workplane.
Proportion & Measurement Rule
Always calculate a single universal scale factor (such as 1:5 or 1:10) and multiply all primary dimensions by that exact ratio to preserve structural integrity and visual proportion.
Step-by-Step Educational Workflow
Implement the scaling project across three structured phases to guide students from hands-on measurement to CAD modeling and tolerance validation.
Stage 1: Physical Reference Measurement
Students select a physical classroom artifact—such as a desk organizer, water bottle, or small architectural fixture. Working in pairs, they record overall height, width, depth, and wall thicknesses in millimeters on their lab worksheet before opening 3D software.
Stage 2: Translating Values into Tinkercad
Students compute target dimensions using their chosen scale factor (for instance, 1:4). Inside Tinkercad, they adjust the Snap Grid to 0.5 mm or 1.0 mm, place baseline primitive shapes, and key in the computed numeric dimensions directly into shape inspector boxes rather than dragging arbitrary corner handles.
Stage 3: Testing Tolerances & Clearances
Before sending files to 3D printers, learners inspect minimum wall thickness to avoid structural failure during slicing. Any feature smaller than 1.2 mm receives compensatory thickening, ensuring that scaling down does not compromise printability.
Formulas and Spatial Checks
Verify proportional accuracy by checking aspect ratios across multiple dimensions before exporting STL files.
- Uniform scale factor applied equally across X, Y, and Z axes without independent stretching.
- Minimum printable wall thickness checked against the 0.4 mm nozzle extrusion threshold.
- Scale factor recorded directly inside the design notes or embossed on the model base for clear reference.
By practicing structured ratio conversion and direct numeric input, students transition from casual software dabblers to capable dimensional thinkers ready for complex engineering and architectural projects.
Classroom Discussions (0)
Peer feedback & teacher notesLeave Classroom Feedback